
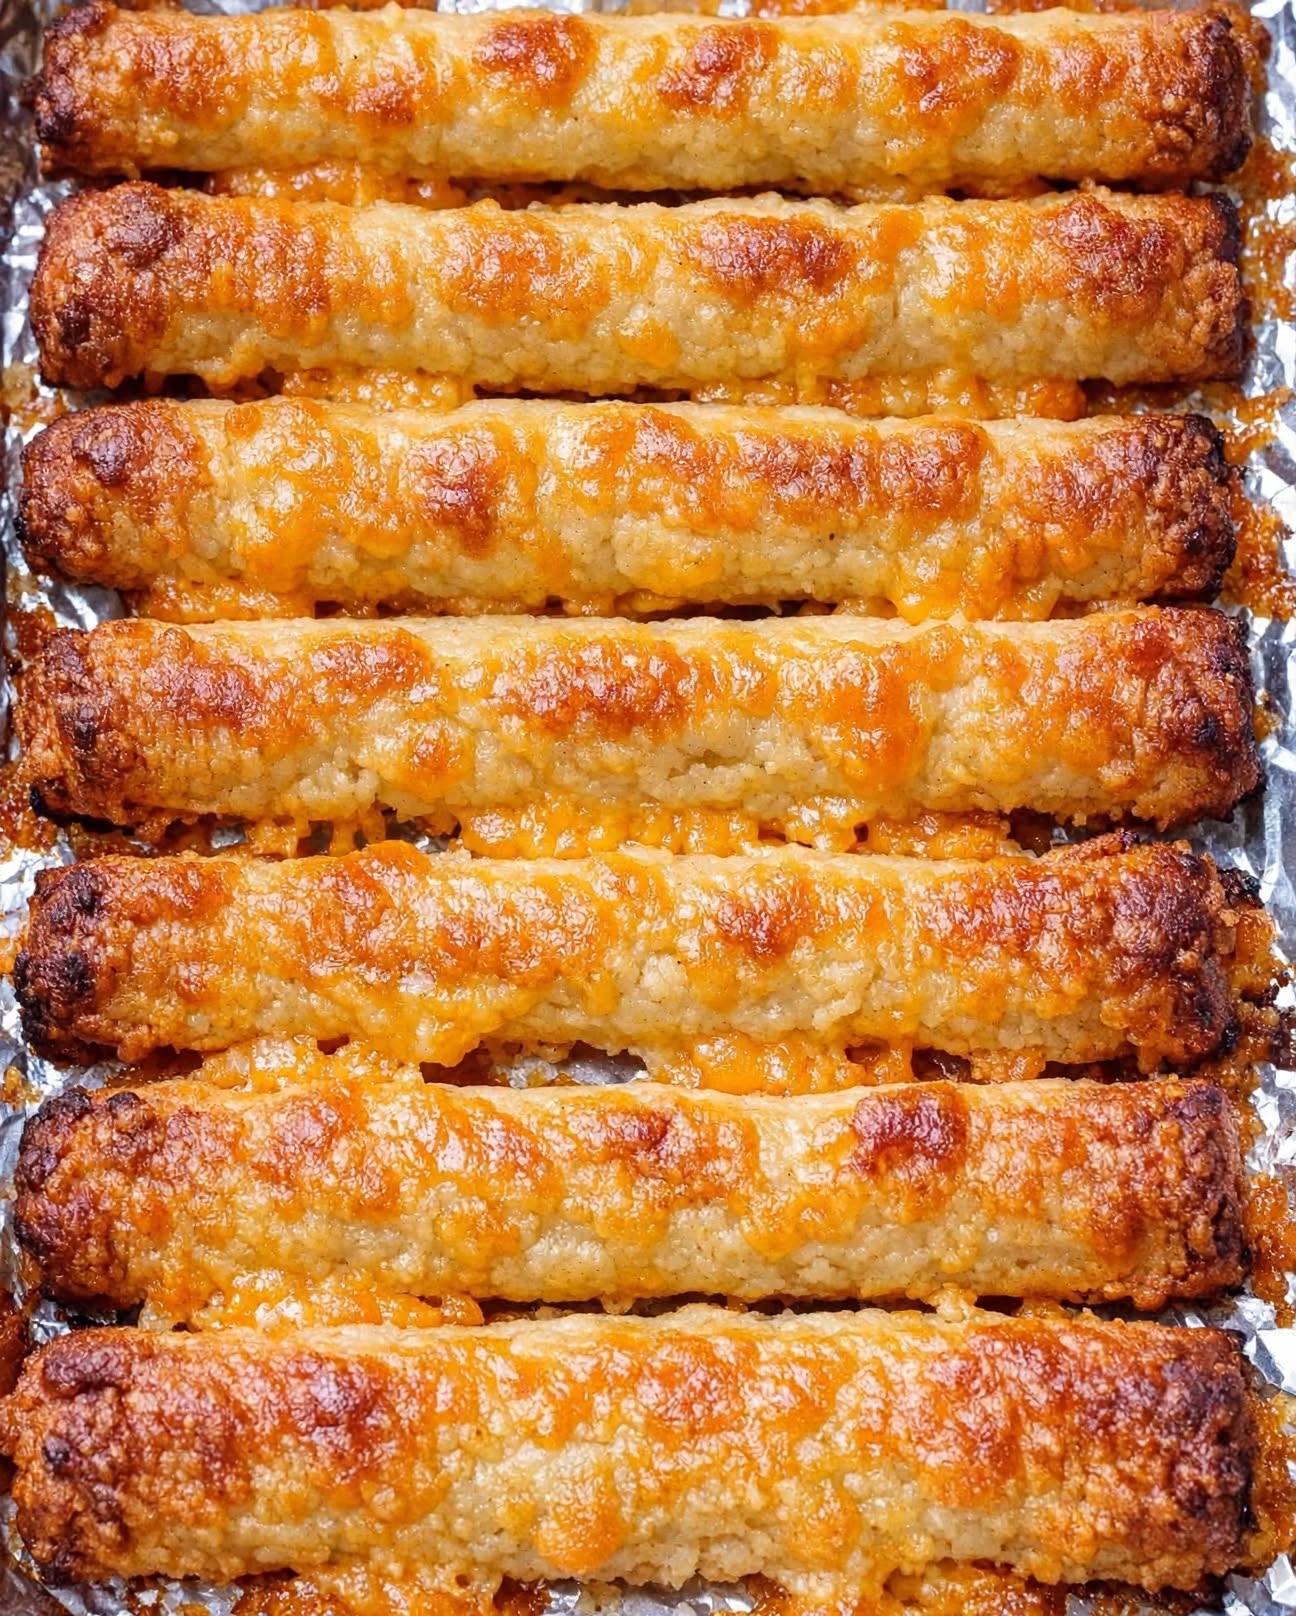
Southern 3-Ingredient Cheesy Lunchroom Straws – The Crispy, Cheesy Party Snack Everyone Loves
My neighbor demanded that I bring a double batch to the church fall festival, and they were the absolute first thing to disappear! I still can’t believe something this delicious takes only 3 simple ingredients.
These Southern 3-Ingredient Cheesy Lunchroom Straws are the kind of old-fashioned comfort food that brings back memories of school cafeterias, church suppers, family reunions, and cozy fall gatherings. Made with biscuit baking mix, sharp cheddar cheese, and milk, these golden cheese straws bake into irresistible little bites with crisp edges, tender centers, and plenty of rich, savory flavor.
What makes this recipe so special is its beautiful simplicity. There is no complicated dough to prepare, no fancy equipment to buy, and no long list of ingredients to measure. Just mix, shape, cut, and bake! In about 30 minutes, you can have a warm tray of homemade cheesy straws ready for hungry guests.
Whether you’re preparing snacks for a church fall festival, a holiday party, a game-day gathering, or a simple family afternoon, these easy cheese straws deserve a place in your recipe collection. Make one batch for a quiet evening at home, or double the recipe when you’re feeding a crowd. Just be prepared for everyone to ask for more!
Why You’ll Love These Southern Cheesy Lunchroom Straws
– Only 3 ingredients: Biscuit baking mix, sharp cheddar cheese, and milk are all you need for this simple homemade snack.
– Quick and easy preparation: The dough comes together in minutes, making this recipe perfect for busy days and last-minute guests.
– Crispy edges and tender centers: Each straw has a satisfying bite with a delicious cheddar flavor.
– Perfect for sharing: These easy finger foods are ideal for potlucks, church gatherings, holiday parties, and fall festivals.
– Budget-friendly ingredients: You can make a generous tray using familiar kitchen staples.
– Easy to customize: Add a little cayenne, black pepper, or your favorite seasoning for a personal touch.
Ingredients for 3-Ingredient Cheesy Lunchroom Straws
This recipe keeps things wonderfully simple. Each ingredient has an important job in creating the flavor and texture of these classic-inspired cheese straws.
1. Biscuit Baking Mix – 2 Cups
Biscuit baking mix provides the foundation for the dough. It typically contains flour, leavening, and other ingredients that help baked goods rise and develop a tender texture. Using a prepared mix saves time and eliminates the need to measure several dry ingredients separately.
It also helps the straws bake up lightly puffed with a soft interior. For the best results, measure the mix accurately and avoid packing it tightly into the measuring cup.
2. Shredded Sharp Cheddar Cheese – 2 Cups
Sharp cheddar cheese gives these homemade cheese straws their signature savory flavor. As the dough bakes, the cheese melts into the biscuit mixture, creating delicious cheesy pockets and lightly browned edges.
Sharp cheddar is especially useful because its bold flavor stands out even with only three ingredients. You can shred a block of cheddar yourself for convenient mixing, or use pre-shredded cheese when you’re short on time.
For a stronger cheese flavor, choose extra-sharp cheddar. White cheddar also works if you prefer a slightly different appearance.
3. Milk – ⅔ Cup
Milk brings the dry ingredients together and creates a workable dough. It adds moisture while helping the biscuit mix form a tender interior during baking.
Pour the milk in gradually if your baking mix or cheese seems particularly moist. You want a thick dough that holds its shape when cut into strips, not a wet batter.
If the dough feels slightly sticky, a light dusting of biscuit mix on your work surface can make shaping easier.
How to Make Southern 3-Ingredient Cheesy Lunchroom Straws
Follow these simple steps to prepare a tray of golden, cheesy straws with crisp edges and a tender middle.
Step 1: Preheat the Oven
Preheat your oven to 425°F (220°C). Line a baking sheet with parchment paper or lightly grease it to help prevent sticking.
A properly preheated oven helps the straws puff up and develop a lightly crisp exterior.
Step 2: Combine the Biscuit Mix and Cheese
Add the biscuit baking mix and shredded sharp cheddar cheese to a large mixing bowl.
Stir until the cheese is evenly distributed throughout the dry mixture. Breaking up any large clumps helps ensure that every straw has a balanced cheesy flavor.
Step 3: Add the Milk
Pour in the milk and stir gently until a thick dough forms.
Mix only until the ingredients come together. Avoid overmixing, as excessive handling can make the finished straws tougher than necessary.
The dough should be firm enough to pat or roll into a rectangle. If it is very sticky, sprinkle a small amount of biscuit mix over your hands and work surface.
Step 4: Roll and Cut the Dough
Transfer the dough to a lightly floured work surface. Pat or roll it into a rectangle approximately ½ inch thick.
Using a sharp knife or pastry cutter, cut the dough into narrow strips of roughly equal size. Try to keep the strips consistent in thickness so they bake evenly.
For extra-crispy cheese straws, make the strips a little thinner. For softer, biscuit-like centers, leave them slightly thicker.
Step 5: Arrange the Straws on the Baking Sheet
Carefully transfer the strips to the prepared baking sheet, leaving a little space between each one.
Spacing allows hot air to circulate around the dough, helping the edges brown instead of steaming against neighboring pieces.
If you need to bake a double batch, use multiple trays rather than crowding all the strips onto one baking sheet.
Step 6: Bake Until Golden
Bake for 10–14 minutes, checking toward the end of the baking time.
The cheese straws are ready when they look lightly puffed, the edges are golden brown, and the centers are cooked through. Thinner strips may finish sooner, so watch them carefully during the final few minutes.
For more even browning, rotate the baking sheet if your oven tends to heat unevenly.
Step 7: Cool Slightly and Serve
Remove the baking sheet from the oven and allow the cheese straws to rest for a few minutes before transferring them to a serving platter.
They are delicious served warm, when the cheddar flavor is especially inviting. They can also be served at room temperature, making them convenient for potlucks, lunchboxes, and party snack tables.
Arrange them in a basket or on a large platter and watch how quickly they disappear!
Pro Tips for the Best Homemade Cheese Straws
Choose flavorful cheddar. Sharp or extra-sharp cheddar gives these three-ingredient straws a more pronounced cheesy taste.
Measure the ingredients carefully. Too much biscuit mix can make the dough dry, while excess milk can make the strips difficult to handle.
Do not overwork the dough. Stir only until everything comes together, then shape it gently for a more tender texture.
Keep the strips similar in size. Uniform thickness helps prevent some straws from burning while others remain underbaked.
Adjust the thickness to your preference. Thin strips generally bake up crisper, while thicker ones have a softer, more biscuit-like center.
Watch the final minutes. Cheese can brown quickly in a hot oven. Remove the straws when the edges are golden and the centers are cooked through.
Double the batch for gatherings. If you’re taking these to a church festival, family reunion, or holiday party, prepare two batches and bake them on separate trays for more consistent results.
Easy Variations to Try
The original recipe is delicious in its simplest form, but a few small additions can give your cheese straws a different personality.
– Southern spicy cheese straws: Add a pinch of cayenne pepper for gentle heat.
– Black pepper cheddar straws: Mix in a little freshly ground black pepper for extra savory flavor.
– Garlic cheddar straws: Add a small pinch of garlic powder for a warm, aromatic twist.
– Extra-crispy cheese straws: Roll the dough slightly thinner and monitor the baking time carefully.
– Herb cheddar straws: Add a little dried parsley or your favorite dried herb for a subtle herbal note.
These additions are optional and will make the recipe more than three ingredients. For the original 3-ingredient version, stick with biscuit baking mix, cheddar cheese, and milk.
What to Serve with Cheesy Lunchroom Straws
These versatile snacks pair beautifully with everything from cozy soups to party dips.
For a comforting lunch: Serve them with tomato soup, vegetable beef soup, or a steaming bowl of homemade chili. Their cheesy flavor complements warm, hearty dishes.
For a party platter: Arrange the straws alongside pimento cheese, ranch dip, sliced ham, pickles, and fresh vegetables for an inviting snack spread.
For a fall festival: Pair them with apple slices, pretzels, popcorn, and other easy-to-carry finger foods.
For breakfast or brunch: Serve them alongside scrambled eggs, an omelet, or a simple fruit salad for a savory addition to the table.
For a holiday gathering: Add them to a cheese board with grapes, crackers, nuts, and sliced apples. Their crisp texture makes a lovely contrast to soft cheeses and fresh fruit.
For an easy supper: Serve a handful with a green salad or a bowl of soup when you want something simple and satisfying.
Make-Ahead and Storage Tips
Make ahead: You can prepare and cut the dough shortly before baking, then cover and refrigerate it briefly while you finish preparing the rest of your meal. Keep the dough chilled and bake as soon as practical for the best texture.
Store leftovers: Once completely cooled, place the cheese straws in an airtight container. Keep them at room temperature for about 1–2 days, provided they are fully baked and handled properly.
Restore their crispness: If the straws soften during storage, warm them in a 300°F (150°C) oven for a few minutes, checking frequently until heated through and lightly crisp again.
For the best texture: These cheese straws are at their finest on the day they are baked. Allow them to cool before storing to reduce trapped moisture.
Frequently Asked Questions
Can I use a different type of cheese?
Yes! Sharp cheddar is the classic choice for this version because it delivers plenty of flavor. White cheddar can also work, and other firm cheeses may be suitable, although the flavor and dough consistency can vary.
Why is my cheese straw dough too sticky?
The dough may be sticky because of differences in baking mix, cheese moisture, or measuring. Lightly dust your hands and work surface with biscuit mix, adding only a little at a time. Avoid adding too much extra dry mix, which can make the straws dry.
How do I make the straws extra crispy?
Roll the dough a little thinner, cut narrow strips, and watch the baking time closely. Bake until the edges are golden and the centers are cooked through. Letting the straws cool briefly on the tray also helps them firm up.
Can I make these for a large crowd?
Absolutely! This recipe is easy to scale up. For a double batch, use 4 cups biscuit baking mix, 4 cups shredded sharp cheddar cheese, and 1⅓ cups milk. Mix and shape the dough as directed, then bake in batches so the trays are not overcrowded.
Are these the same as traditional Southern cheese straws?
They are a quick, biscuit-mix variation inspired by the familiar Southern cheese straw. Traditional recipes often use flour, butter, and seasonings to create a firmer, crispier pastry. This three-ingredient version is designed for convenience and has a slightly more biscuit-like texture.
A Simple Recipe That Belongs at Every Gathering
These Southern 3-Ingredient Cheesy Lunchroom Straws prove that you do not need an elaborate recipe to make something people genuinely love. With biscuit baking mix, sharp cheddar cheese, and milk, you can prepare a warm, golden batch of savory snacks that fits right into busy weeknights, fall festivals, church suppers, and holiday celebrations.
They’re easy to shape, quick to bake, budget-friendly, and simple to customize. Best of all, they deliver the comforting flavor of homemade cheesy goodness with very little effort.
Make a batch for your next gathering, set them out while they’re still slightly warm, and see how quickly the platter empties. And if your neighbor asks you to bring them again, don’t forget to double the recipe—because these easy homemade cheese straws have a way of disappearing before everyone gets their first helping!