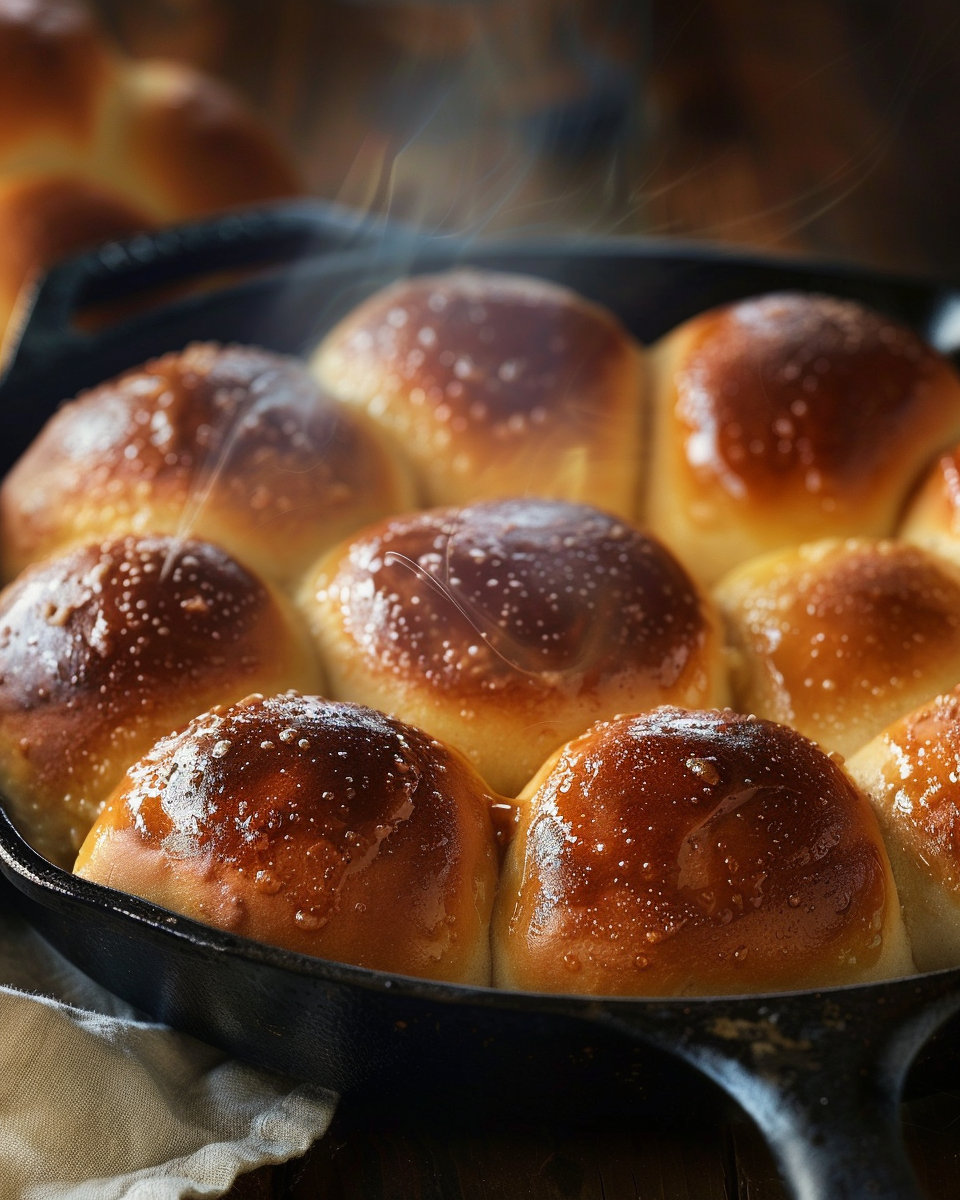
Few recipes feel as comforting and timeless as Mother’s Refrigerator Rolls. This classic homemade roll recipe has been passed down through generations for good reason. The dough is mixed once, stored in the refrigerator, and baked fresh whenever you need soft, buttery rolls. Whether for holidays, Sunday dinners, or everyday meals, these rolls are light, tender, and absolutely dependable.
What makes refrigerator rolls special is their flexibility. The dough can be made days in advance, and you simply take out what you need, shape it, let it rise, and bake. Fresh bread without the stress.
Why You’ll Love This Recipe
-
Make-ahead dough that keeps up to one week
-
Soft, fluffy rolls with a rich, buttery flavor
-
Perfect for holidays, family dinners, and special occasions
-
Simple ingredients and traditional technique
-
Beginner-friendly and forgiving dough
Ingredients
-
2 packages active dry yeast
-
½ cup warm water (not hot)
-
1 large egg, beaten with a fork
-
¾ teaspoon salt
-
½ cup plus 1 tablespoon granulated sugar
-
½ cup shortening (Crisco or lard)
-
2 cups warm water (not hot)
-
6 cups plain all-purpose flour (Martha White or White Lily bread flour recommended)
-
2 sticks margarine or butter, melted (for dipping and brushing)
How to Make Mother’s Refrigerator Rolls
Step 1: Activate the Yeast
Dissolve the yeast in ½ cup warm water. Set aside to bloom for a few minutes.
Step 2: Prepare the Egg
Beat the egg with a fork and set aside.
Step 3: Mix the Base
In a large bowl, combine shortening, salt, and sugar until well blended.
Step 4: Add Liquids
Add the beaten egg, yeast mixture, and 2 cups warm water to the bowl. Stir well.
Step 5: Add the Flour
Gradually mix in all 6 cups of flour until a soft dough forms.
Step 6: Incorporate Fully
Scrape down the sides of the bowl to ensure all ingredients are fully incorporated.
Step 7: Refrigerate the Dough
Transfer the dough to a generously greased large bowl. Lightly grease the top of the dough. Cover tightly with plastic wrap. Refrigerate at least overnight. The dough can be stored for up to one week.
Step 8: Knead
When ready to bake, remove the dough from the refrigerator. Turn out onto a lightly floured surface and knead gently.
Step 9: Shape and Rise
Cut the dough using a floured biscuit cutter. Dip each piece into melted butter before placing in a greased pan or cast-iron skillet. Cover with a cloth or waxed paper and allow rolls to rise until doubled in size.
Step 10: Bake
Bake in a preheated 375°F (190°C) oven for 15–20 minutes, or until golden brown.
Step 11: Finish with Butter
While the rolls are still hot, brush generously with melted butter.
Test Kitchen Tips
-
The less you handle the dough, the lighter the rolls will be
-
Avoid using too much flour when shaping
-
Even if the rolls are shaped imperfectly, they will still bake up delicious
-
Warm water should feel comfortably warm, never hot, to avoid killing the yeast
Make-Ahead and Storage
-
Dough keeps refrigerated for up to 7 days
-
Bake only what you need and save the rest for later
-
Baked rolls can be stored at room temperature for 1–2 days
-
Reheat gently in the oven for best texture
Serving Suggestions
Mother’s Refrigerator Rolls pair beautifully with:
-
Roast chicken or turkey
-
Holiday meals like Thanksgiving or Christmas
-
Soups and stews
-
Breakfast spreads with butter and jam
Frequently Asked Questions
Can I freeze the dough?
Yes. Freeze after the first rise. Thaw overnight in the refrigerator before shaping and baking.
Can I use butter instead of shortening?
Yes, but shortening produces a slightly lighter texture.
Can I shape the dough differently?
Absolutely. Crescent rolls, cloverleaf rolls, or pan rolls all work well.
Final Thoughts
Mother’s Refrigerator Rolls are the definition of old-fashioned comfort baking. With soft texture, buttery flavor, and make-ahead convenience, this recipe is a staple worth keeping forever. Once you try them, they’ll become part of your family’s tradition too.