
almost too clever to be this good, and these Oven Pasta Chips are exactly that. They take humble pasta, toss it in a savory seasoning, and bake it into crispy, golden, poppable little chips that are completely irresistible. They are the kind of snack that disappears from the baking sheet before you can even transfer them to a bowl.
What I love most about this recipe is how effortlessly it transforms a pantry staple into something fun and delicious. The pasta cooks until tender, gets coated in olive oil and seasonings, then bakes into crispy, crunchy chips with a satisfying bite. They are perfect for game days, movie nights, lunchboxes, or any time you need a crowd-pleasing snack that is a little different from the usual chips.
They are also wonderfully adaptable. You can season them with garlic and herbs, make them spicy with red pepper flakes, or toss them in Parmesan for a cheesy finish. Serve them with marinara or ranch for dipping, and watch everyone reach for more.
Why You’ll Love This Recipe
This recipe is incredibly simple. With a few everyday ingredients and one baking sheet, you can have a batch of crispy pasta chips in under half an hour.
The texture is unforgettable. They are crispy on the outside with a slight chew on the inside, and the seasonings infuse every bite with flavor.
They are also endlessly adaptable. You can use different pasta shapes, swap the seasonings, or make them cheesy. They are delicious every single time.
Ingredients
-
8 ounces pasta, such as penne, rigatoni, or bowties
-
3 tablespoons olive oil
-
1 teaspoon garlic powder
-
1 teaspoon dried Italian seasoning
-
1/2 teaspoon salt
-
1/4 teaspoon black pepper
-
1/2 cup grated Parmesan cheese
Optional: red pepper flakes, smoked paprika, or ranch seasoning for dipping.
Directions
-
Preheat your oven to 425°F (220°C). Line a baking sheet with parchment paper.
-
Cook the pasta in salted boiling water until al dente. Drain well and pat dry with a clean kitchen towel.
-
In a large bowl, toss the cooked pasta with olive oil, garlic powder, Italian seasoning, salt, and pepper until evenly coated.
-
Spread the pasta in a single layer on the prepared baking sheet. Do not overcrowd the pan.
-
Sprinkle the grated Parmesan over the pasta.
-
Bake for 15 to 20 minutes, stirring halfway through, until the pasta is golden and crispy.
-
Let cool for 5 minutes before serving. Serve with marinara or ranch for dipping.
Variations
-
Spicy Pasta Chips: Add red pepper flakes or a pinch of cayenne pepper.
-
Cheesy Pasta Chips: Use mozzarella or cheddar instead of Parmesan.
-
Garlic Herb Pasta Chips: Add 1 teaspoon dried thyme or rosemary.
-
Ranch Pasta Chips: Toss with a packet of ranch seasoning instead of Italian seasoning.
-
Gluten-Free: Use gluten-free pasta and adjust the baking time as needed.
-
Air Fryer Version: Cook at 400°F for 8 to 10 minutes, shaking the basket halfway.
Expert Tips
-
Pat the pasta dry after cooking so it crisps up in the oven.
-
Do not overcrowd the baking sheet. Give the pasta space so it roasts instead of steams.
-
Stir halfway through baking for even browning.
-
Watch the bake time closely. Pasta can go from golden to burnt quickly.
-
Let the chips cool for a few minutes so they firm up and get extra crispy.
Storage and Reheating
Store cooled pasta chips in an airtight container at room temperature for up to 3 days. To re-crisp, place them on a baking sheet in a 350°F oven for 5 minutes. Avoid the microwave, as it will make them soft. These chips do not freeze well.
Frequently Asked Questions
-
Can I use a different pasta shape? Yes. Penne, rigatoni, bowties, or shells all work well.
-
Can I boil the pasta ahead of time? Yes. Cook, drain, and refrigerate until ready to season and bake.
-
Why are my pasta chips soggy? They may not have been dried well or were overcrowded on the pan.
-
Can I make these without cheese? Yes. The olive oil and seasonings alone make delicious chips.
-
Can I double this recipe? Yes. Use two baking sheets and rotate them halfway through baking.
What to Serve With This Dish
-
Marinara or ranch for dipping
-
A crisp green salad
-
As a game day snack with wings and sliders
-
With a bowl of tomato soup
-
A cold glass of iced tea or a light beer
Final Thoughts
These Oven Pasta Chips are proof that you do not need a long list of ingredients or complicated techniques to create something truly delicious. They are crispy, savory, and wonderfully snackable, and they come together with almost no effort. I hope they become a beloved staple in your kitchen.
Have you made these Oven Pasta Chips yet? I would love to hear how they turned out for you. Drop a comment below and tell me what you served with them, and did you try any fun variations?
2-Ingredient Chocolate Fudge
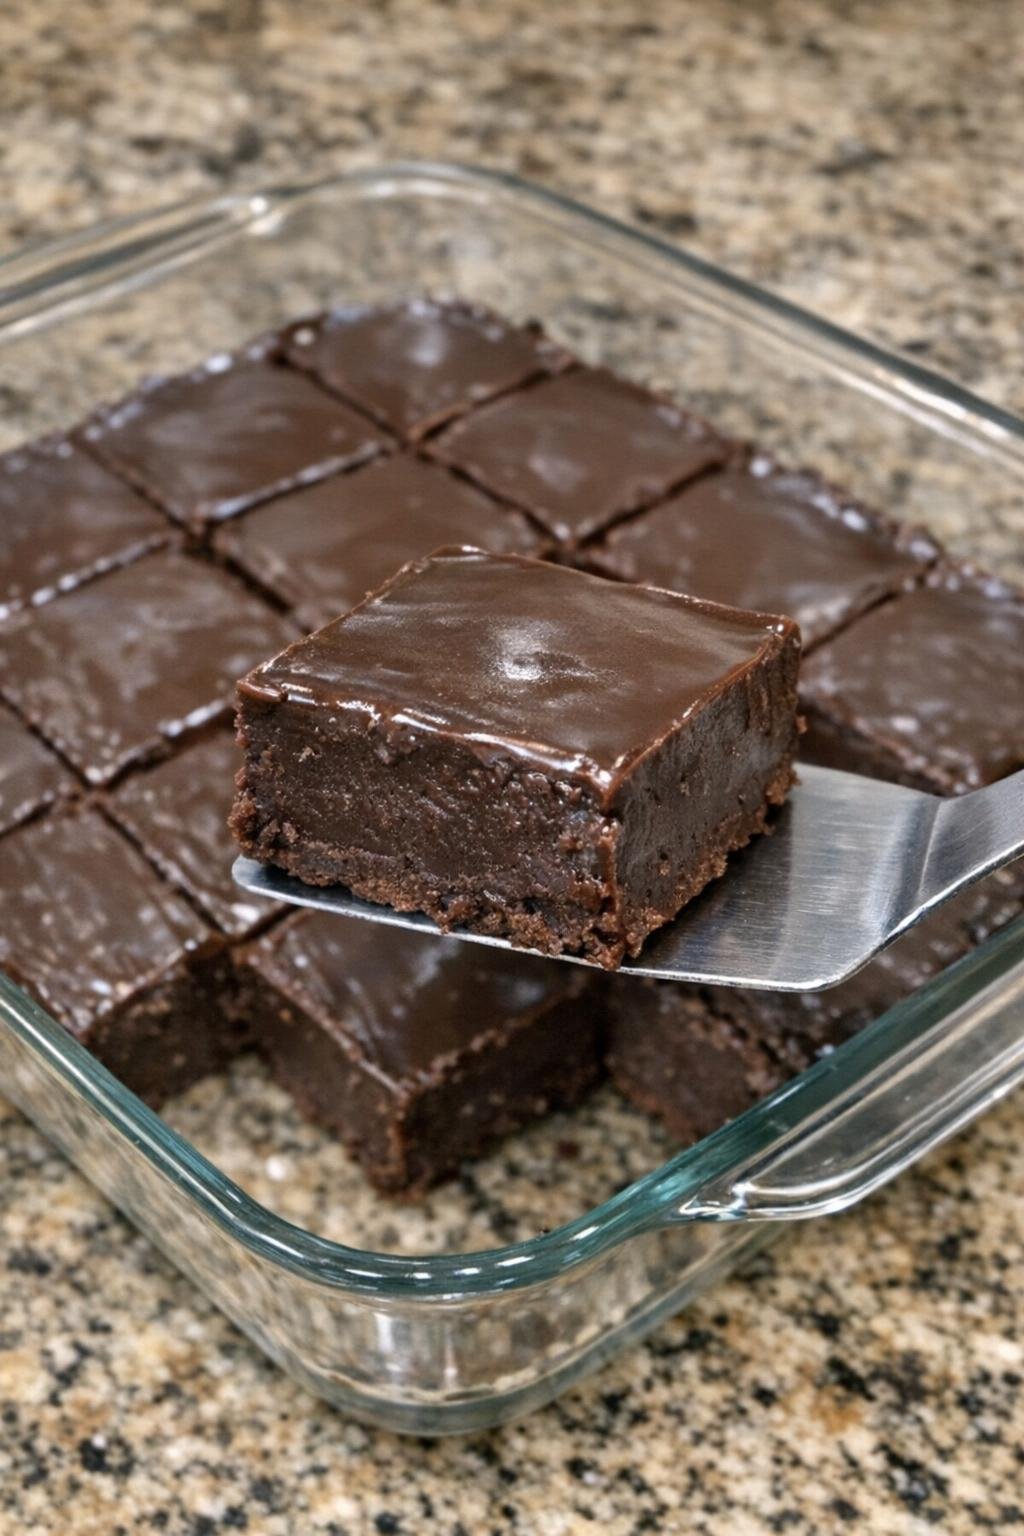
There are some desserts that sound too simple to be this good, and this 2-Ingredient Chocolate Fudge is exactly that. It is rich, creamy, and deeply chocolatey, with a smooth, melt-in-your-mouth texture that tastes like it came from a candy shop. The best part? You only need two ingredients and about ten minutes of hands-on time.
What I love most about this recipe is how effortlessly it comes together. There is no candy thermometer, no fussy tempering, and no long list of ingredients. Just chocolate chips and sweetened condensed milk transform into a velvety fudge that slices beautifully and satisfies any chocolate craving. You can dress it up with nuts, sea salt, or a drizzle of white chocolate, or keep it classic and let the rich chocolate flavor shine.
It is perfect for holiday trays, homemade gifts, potlucks, or a cozy afternoon treat. Once you make it from scratch, you may never buy store-bought fudge again.
Why You’ll Love This Recipe
This recipe is incredibly simple. With two main ingredients and one saucepan, you can have a batch of rich, creamy fudge ready to chill in about fifteen minutes.
The texture is unforgettable. It is smooth, dense, and melts in your mouth, with a deep chocolate flavor that is perfectly sweet.
It is also endlessly adaptable. You can use dark, milk, or semi-sweet chocolate, add nuts or extracts, or top it with flaky sea salt. It always turns out delicious.
Ingredients
-
3 cups semi-sweet chocolate chips
-
1 can (14 ounces) sweetened condensed milk
Optional: 1 teaspoon vanilla extract, 1/2 teaspoon sea salt, 1/2 cup chopped nuts, or flaky sea salt for topping.
Directions
-
Line an 8×8-inch baking pan with parchment paper, leaving an overhang on two sides.
-
In a medium saucepan over low heat, combine the chocolate chips and sweetened condensed milk. Stir constantly until the chocolate is completely melted and the mixture is smooth.
-
Remove from heat and stir in the vanilla and salt if using.
-
Pour the mixture into the prepared pan and spread it evenly with a spatula.
-
Sprinkle with nuts or flaky sea salt if desired.
-
Refrigerate for at least 2 hours, or until completely firm.
-
Lift the fudge out using the parchment overhang and cut into squares.
Variations
-
Dark Chocolate Fudge: Use dark chocolate chips for a richer, less sweet fudge.
-
Milk Chocolate Fudge: Use milk chocolate chips for a creamier, sweeter treat.
-
Nutty Fudge: Fold in 1/2 cup chopped pecans or walnuts.
-
Peppermint Fudge: Add 1/2 teaspoon peppermint extract and sprinkle crushed candy canes on top.
-
Salted Caramel Fudge: Swirl in 1/4 cup caramel sauce and sprinkle with flaky sea salt.
-
White Chocolate Fudge:Substitute white chocolate chips and add 1/2 teaspoon vanilla.
Expert Tips
-
Use good-quality chocolate chips for the best flavor and texture.
-
Stir constantly over low heat so the chocolate melts smoothly and does not scorch.
-
Do not skip the parchment paper. It makes removal and cleanup easy.
-
Chill completely before slicing for clean, neat squares.
-
Warm your knife under hot water and wipe it dry between cuts for the cleanest edges.
Storage and Reheating
Store fudge in an airtight container at room temperature for up to 1 week, or in the refrigerator for up to 2 weeks. For longer storage, freeze in a freezer-safe container for up to 3 months. Thaw in the refrigerator before serving. No reheating is necessary.
Frequently Asked Questions
-
Can I use chocolate bars instead of chips? Yes. Chop them finely so they melt evenly.
-
Can I use milk instead of condensed milk? No. Sweetened condensed milk is essential for the texture and sweetness.
-
Why is my fudge grainy? The chocolate may have seized from overheating or moisture. Melt slowly over low heat.
-
Can I double this recipe? Yes. Use a 9×13-inch pan and increase the chilling time slightly.
-
How long does fudge last? About 1 week at room temperature or 2 weeks in the refrigerator.
What to Serve With This Dish
-
A cold glass of milk
-
Hot coffee or tea
-
Fresh berries for a tart contrast
-
Alongside other holiday candies and cookies
-
Packed in gift tins or jars
Final Thoughts
This 2-Ingredient Chocolate Fudge is proof that you do not need a long list of ingredients or complicated techniques to create something truly delicious. It is rich, creamy, and wonderfully indulgent, and it comes together with almost no effort. I hope it becomes a beloved staple in your kitchen.