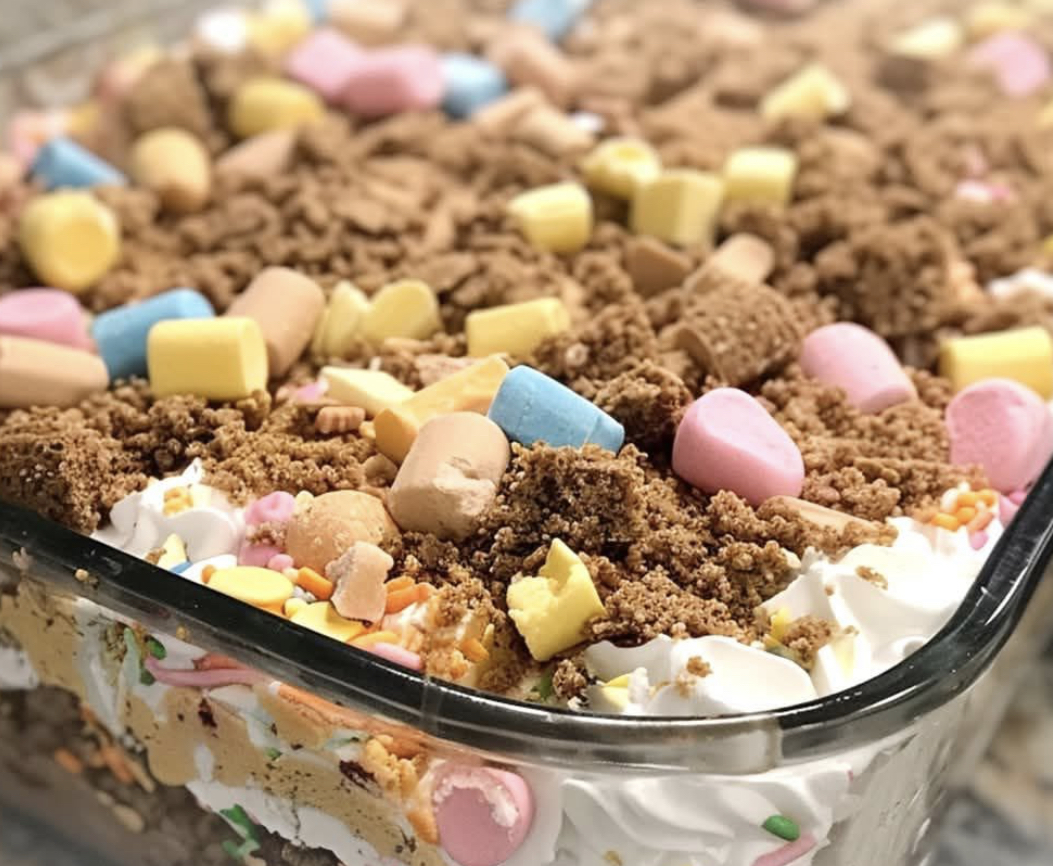
This Easter Dirt Cake Casserole is the perfect playful dessert for spring celebrations. With its crushed Oreo “dirt,” creamy cheesecake filling, and festive Easter decorations, it’s a hit with kids and adults alike. Best of all, it’s completely no-bake and comes together in minutes.
Why This Recipe Works
This recipe succeeds because it combines beloved flavors in a fun, festive presentation. The crushed Oreos create a convincing “dirt” layer that’s rich and chocolatey. The cream cheese and butter mixture forms a creamy, tangy base that’s absolutely irresistible. And the Easter-themed decorations make it perfect for the holiday.
The Complete Recipe: Easter Dirt Cake Casserole
Prep Time: 20 minutes | Chill Time: 2-4 hours | Total Time: 2-4 hours | Servings: 12-15
Ingredients
For the “Dirt” Layer:
-
1 package (14.3 oz) Oreos, crushed
For the Cream Cheese Layer:
-
½ cup unsalted butter, softened
-
1 package (8 oz) cream cheese, softened
-
1 cup powdered sugar
-
1 (8 oz) container frozen whipped topping, thawed
-
1 teaspoon vanilla extract
For the Pudding Layer:
-
1 (3.4 oz) package instant vanilla pudding mix
-
2 cups cold milk
For Decoration:
-
Easter candy (candy eggs, jelly beans, etc.)
-
Optional: Easter sprinkles, Peeps, or chocolate bunnies
Step-by-Step Instructions
Step 1: Crush the Oreos
Place the Oreos in a food processor and pulse until finely crushed. Alternatively, place them in a zip-top bag and crush with a rolling pin. Set aside.
Step 2: Make the Cream Cheese Layer
In a large bowl, beat the softened butter and cream cheese together until smooth and creamy. Add the powdered sugar and vanilla extract, beating until well combined. Gently fold in the thawed whipped topping until smooth.
Step 3: Make the Pudding Layer
In a separate bowl, whisk together the instant vanilla pudding mix and cold milk for 2 minutes until thickened.
Step 4: Assemble the Casserole
In a 9×13-inch dish or a trifle bowl, begin layering:
-
Start with half of the crushed Oreos as the bottom “dirt” layer.
-
Spread the cream cheese mixture evenly over the Oreos.
-
Carefully spread the pudding over the cream cheese layer.
-
Top with the remaining crushed Oreos.
Step 5: Decorate
Press Easter candy eggs, jelly beans, or other festive treats into the top “dirt” layer. Get creative!
Step 6: Chill
Cover and refrigerate for at least 2 to 4 hours, or overnight. This allows the layers to set and the flavors to meld.
Step 7: Serve
Spoon into bowls and enjoy!
Pro Tips for the Perfect Easter Dirt Cake
-
Finely Crush Oreos: For the best “dirt” texture, crush the Oreos until they’re fine crumbs with no large pieces.
-
Room Temperature Ingredients:Ensure your butter and cream cheese are softened for a smooth, lump-free cream cheese layer.
-
Don’t Skip the Chill: The chilling time is essential for the layers to set properly.
-
Get Creative with Decorations: Use pastel-colored candies, Peeps, or even edible flowers for a festive look.
-
Individual Servings: Make in small cups or jars for individual portions—perfect for parties.
Delicious Variations
-
Chocolate Pudding: Use chocolate instant pudding for a double-chocolate version.
-
Peanut Butter Dirt Cake: Add ½ cup of peanut butter to the cream cheese layer.
-
Mint Chocolate: Use mint Oreos and add mint extract to the cream cheese layer.
-
Berry Dirt Cake: Add a layer of fresh strawberries or raspberries.
-
Gluten-Free: Use gluten-free chocolate sandwich cookies.
Serving Suggestions
-
Serve in a clear trifle bowl to show off the beautiful layers
-
Top with Easter candy and sprinklesfor a festive touch
-
Add a Peep on top of each serving
-
Pair with a scoop of vanilla ice creamfor extra indulgence
Storage
-
Refrigerator: Store covered in the refrigerator for up to 4 days.
Conclusion: A Fun Easter Tradition
This Easter Dirt Cake Casserole is proof that the best holiday desserts are often the most playful. With its “dirt” layers, creamy filling, and festive decorations, it’s guaranteed to bring smiles to faces of all ages.
Perfect for Easter brunch, spring parties, or any celebration, this recipe is sure to become a favorite. Make it once, and you’ll understand why it’s a keeper.