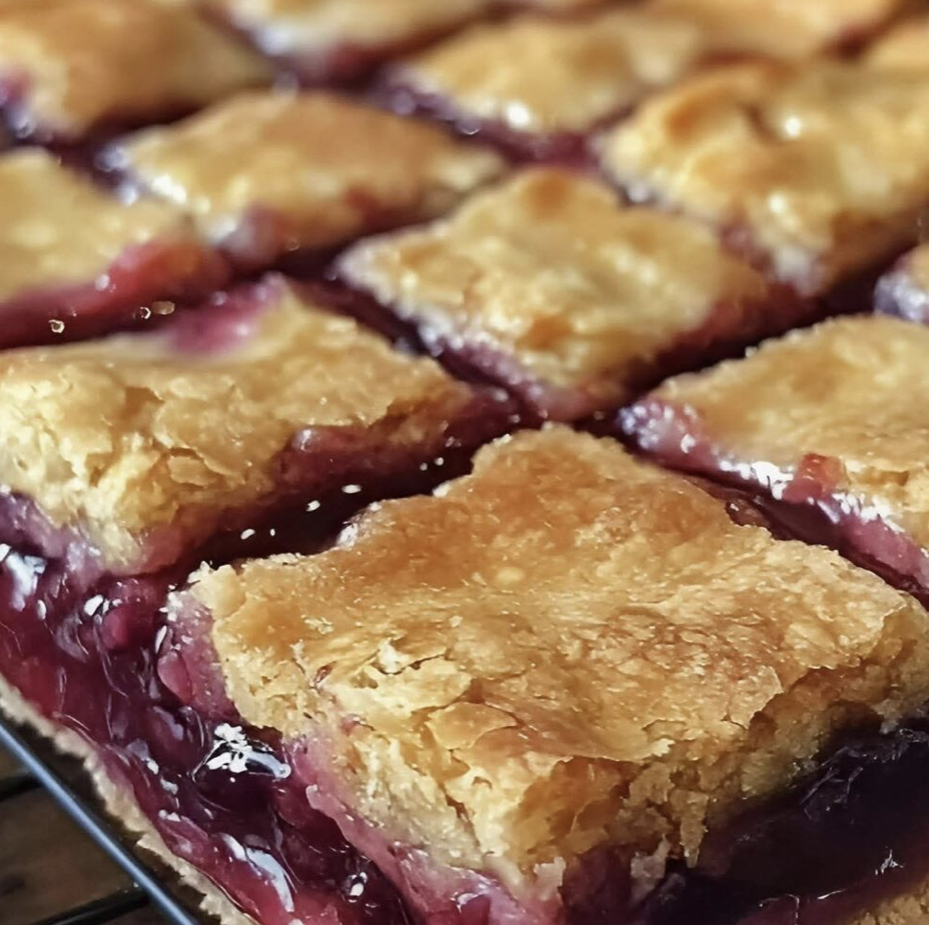
There’s a special kind of magic in a perfect slice of cherry pie—the buttery crust, the sweet-tart burst of fruit, the feeling of pure, simple joy. But for many, the process of making a pie from scratch—rolling dough, weaving lattices, and managing a soggy bottom—can feel daunting. Enter the Cherry Pie Bar: every bit as delicious as its classic inspiration, but infinitely simpler to make, serve, and share. These bars capture the soul of a homemade cherry pie in a fuss-free, handheld form, featuring a tender, buttery shortbread-like crust, a luscious cherry filling, and a crumbly, golden topping. They’re the ultimate dessert for potlucks, picnics, or any time you crave that iconic flavor without the classic pie stress.
Cherry Pie Bars
Prep Time: 25 minutes | Bake Time: 45-50 minutes | Cooling Time: 2+ hours | Total Time: About 3.5 hours
Yield: 24 generous bars
Ingredients
For the Crust & Topping (Same Dough):
-
3 cups (375 g) all-purpose flour, spooned and leveled
-
1 cup (200 g) granulated sugar
-
1 teaspoon baking powder
-
½ teaspoon fine salt
-
1 cup (226 g / 2 sticks) cold unsalted butter, cubed
-
1 large egg, cold
-
1 teaspoon pure vanilla extract
-
Zest of ½ a lemon (optional but highly recommended)
For the Cherry Filling:
-
Option A (Classic & Simple): 2 (21-oz) cans of quality cherry pie filling
-
Option B (Homemade & Brilliant):
-
4 cups pitted cherries (fresh, frozen & thawed, or jarred Morello cherries)
-
¾ cup (150 g) granulated sugar
-
3 tablespoons cornstarch
-
1 tablespoon lemon juice
-
½ teaspoon pure almond extract
-
For the Optional Glaze:
-
1 cup (120 g) powdered sugar, sifted
-
2–3 tablespoons milk, cream, or lemon juice
-
½ teaspoon vanilla extract
Instructions
1. Prep & Preheat:
Preheat your oven to 350°F (175°C). Line a 9×13-inch baking pan with parchment paper, leaving an overhang on two opposite sides. This creates “handles” to lift the entire slab of bars out for clean, easy cutting. Grease any exposed sides of the pan.
2. Make the Versatile Dough:
In a large bowl, whisk together the flour, sugar, baking powder, and salt. Using a pastry cutter, two forks, or clean fingertips, work the cold, cubed butter into the flour mixture until it resembles coarse, pea-sized crumbs.
In a small bowl, whisk the egg with the vanilla extract (and lemon zest, if using). Pour this over the flour-butter mixture. Stir with a fork or your hands just until a soft, cohesive dough forms. Do not overmix. The dough should hold together when pinched.
3. Press the Par-Baked Crust:
Divide the dough: roughly two-thirds for the bottom crust and one-third for the topping.
Take the larger portion of dough and press it firmly and evenly into the bottom of your prepared pan, creating a solid, compact layer.
Bake this bottom crust for 15 minutes, or until it is just beginning to set and is very lightly golden at the edges. Remove from the oven and place on a cooling rack. Leave the oven on.
4. Prepare the Filling:
-
If using canned pie filling: Simply open the cans and have it ready.
-
If making homemade filling: While the crust bakes, combine pitted cherries, sugar, cornstarch, and lemon juice in a medium saucepan. Cook over medium heat, stirring constantly, for 5-7 minutes until the mixture thickens, becomes glossy, and the juices have bubbled and cleared. Remove from heat and stir in the almond extract. Let it cool slightly.
5. Assemble & Bake:
Spread the cherry filling (homemade or canned) evenly over the warm par-baked crust.
Take the remaining one-third portion of dough and crumble it evenly over the cherry filling in small, irregular pieces to create a streusel-like topping.
6. Final Bake:
Return the pan to the oven and bake for 45-50 minutes, or until the crumble topping is a deep, golden brown and the cherry filling is bubbling actively at the edges.
7. Cool Completely (The Most Important Step!):
Place the pan on a wire rack and allow the bars to cool completely in the pan—this will take at least 2 hours. For the cleanest possible slices, you can refrigerate the pan for an additional hour after it reaches room temperature.
8. Glaze & Slice:
If using the glaze, whisk the ingredients together in a small bowl until smooth, adjusting the liquid to reach a drizzling consistency.
Use the parchment paper overhang to lift the entire slab of bars onto a cutting board. Drizzle with glaze if desired, then use a sharp knife to slice into 24 squares (4 rows by 6 rows). Wipe the knife clean between cuts for perfect edges.
Baker’s Notes: Secrets to Perfect Bars
-
Keep It Cold: The key to a tender, crumbly crust is using cold butter and not overworking the dough once the egg is added. You want to see small bits of butter in the mixture.
-
Filling Choices: High-quality canned pie filling is a fantastic shortcut. For a truly special touch, homemade filling with a dash of almond extract gives that authentic, old-fashioned bakery flavor.
-
Cooling is Crucial: Attempting to cut warm bars will result in a gooey mess. Patience here ensures perfect, neat squares.
-
Lemon’s Role: The optional lemon zest in the dough doesn’t make the bars taste like lemon; it simply brightens the flavor of the cherries and butter, cutting through the sweetness.
-
Storage: Store bars in an airtight container at room temperature for up to 2 days, or in the refrigerator for up to 5 days. They also freeze beautifully for up to 3 months.
These Cherry Pie Bars are a celebration of simplicity and flavor. They deliver all the nostalgic comfort of a perfect cherry pie in a format that’s made for sharing, making them the undisputed star of any dessert table.